

Key Takeaways
- You need a stable Wi-Fi password and a compatible smartphone before starting setup.
- Every major smart speaker relies on a companion app to complete the initial configuration.
- Choosing the right room placement affects both audio quality and voice-recognition accuracy.
- Privacy settings - including microphone controls - should be reviewed before active daily use.
- A smart speaker can integrate with other devices, but its capabilities depend on your chosen ecosystem.
What you will need
What You Need Before You Start
Smart speakers are among the more approachable pieces of home technology - setup typically takes under 30 minutes - but a few things need to be in place beforehand. The most common reason setup stalls isn't the device; it's a missing Wi-Fi password or a forgotten account login.
What you will need
If you're still deciding which platform to invest in, our comparison of Google Home and Amazon Alexa ecosystems covers how each one differs in device compatibility and everyday usability. And if terms like 'ecosystem' and 'smart home' feel vague, this plain-language explainer is worth a quick read first.
Wi-Fi network name and password
Required to connect the smart speaker to your home network during setup.
Smartphone or tablet (iOS or Android)
Needed to run the companion app that guides the initial configuration process.
Manufacturer's companion app
The official app (e.g., Google Home or Amazon Alexa) that handles device discovery and account linking.
Account with the device's platform
A platform account (e.g., Google or Amazon) is required to activate the speaker and enable its features.
Power outlet near intended placement spot
Smart speakers are AC-powered and need a nearby outlet for permanent placement.
Step-by-Step Setup Instructions
Follow these steps in order. Each one builds on the last, and skipping ahead - especially past the app configuration - is the most common source of problems for first-time users.
Don't Skip the App - It's Not Optional
Smart speakers cannot be fully configured through a web browser or without the manufacturer's companion app. Attempting to skip this step will leave the device in a limited or non-functional state. Download the correct official app before you begin - verify the developer name in your app store to avoid lookalike apps.
Choose a placement location before plugging in
Pick a spot that is centrally located in the room, away from walls and corners when possible. Placing a smart speaker too close to a surface can cause muffled audio and interfere with voice pickup. Avoid positioning it next to a TV or stereo, which can trigger the wake word unintentionally. A countertop, bookshelf, or side table at roughly ear level works well for most rooms.
Plug in the speaker and wait for the startup signal
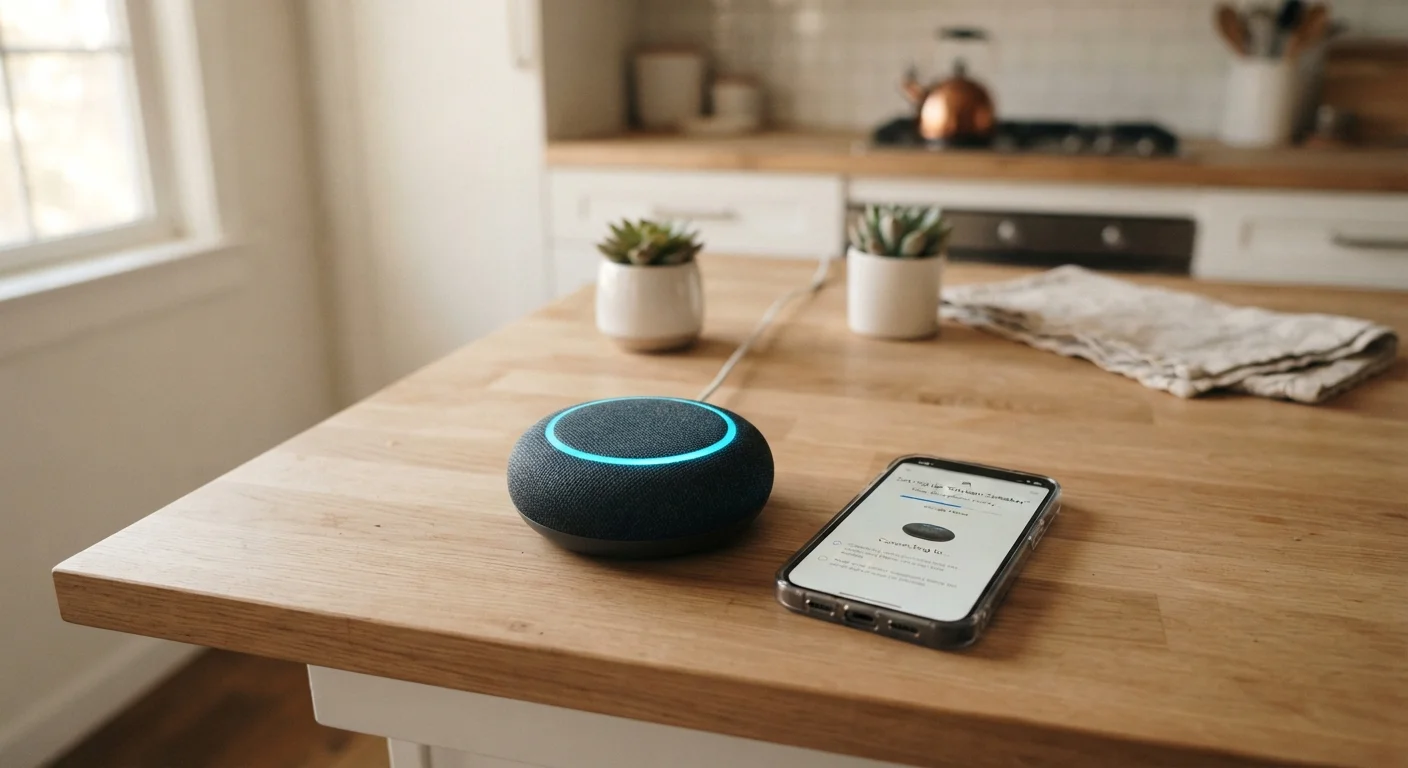
Connect the power adapter and plug it into a wall outlet - not a power strip if you can avoid it, as some strips can cause intermittent power issues. Wait for the device to complete its startup sequence, which typically takes 30-60 seconds. Most speakers signal readiness with a chime, a colored light ring, or a spoken prompt. Do not proceed until you see or hear this confirmation.
Open the companion app and begin device setup
Launch the official app on your smartphone - make sure you're signed into your platform account. Tap the option to add a new device; the app will search for speakers on the same Wi-Fi network or via Bluetooth. When your device appears, select it. The app will walk you through the remaining steps automatically, including naming the device and assigning it to a room.
Connect the speaker to your Wi-Fi network
When prompted, select your home Wi-Fi network from the list and enter the password. The speaker will attempt to connect; this usually takes under a minute. Once connected, the app will confirm with a success message. If the connection fails, double-check that you're using the correct password and that the network is 2.4 GHz - some speakers don't support 5 GHz-only networks.
Configure your preferences and linked services
After connecting, the app will prompt you to set a few personalization options: your address (for weather and local results), preferred language and voice, and any streaming services you want linked. Take a few minutes to complete these - they directly affect how useful the speaker is day-to-day. You can also link smart home devices at this stage if you have them, though that can always be done later.
Review privacy and microphone settings
Before wrapping up, navigate to the privacy section of the companion app. Review whether voice recordings are being saved, how long they're stored, and who can access them. Enable the microphone mute feature if you want a physical off switch for the mic. Most platforms also allow you to delete past voice history from this menu. This step is easy to skip but worth doing once upfront.
Test Voice Recognition Right Away
Once setup is complete, say the wake word from different spots in the room - standing, sitting, and from the doorway. If the speaker frequently mishears or doesn't respond, try repositioning it away from walls, appliances, or HVAC vents. Consistent detection distance is a good sign the placement is working.
Review Privacy Settings Before Daily Use
Smart speakers listen for a wake word by default, which means the microphone is always active. Before using the device regularly, open the companion app and review your voice-data settings, including whether recordings are stored and how long they're retained. Most platforms offer a mute button on the device itself that physically disables the microphone when not needed.
After Setup: Getting More From Your Speaker
Once your smart speaker is running, the out-of-the-box experience is just the starting point. A few small additions can significantly expand what it does daily.
- Add smart plugs: Pairing a smart speaker with voice-controllable outlets is one of the easiest ways to bring older appliances into a connected setup. See how in our guide to smart plugs as a starting point for home automation.
- Expand to multiroom audio: If you find yourself wanting music throughout the house, the speaker you just set up can often act as the foundation. Planning a whole-home audio setup walks through the key decisions without overcomplicating it.
- Revisit your routines: Most companion apps let you create automated routines - like a morning briefing or lights-off command - that activate with a single phrase. These are set up entirely within the app, no technical knowledge required.
A smart speaker rewards a little time spent exploring its settings. The initial setup gets the device working; the configuration that follows is what makes it genuinely useful.