

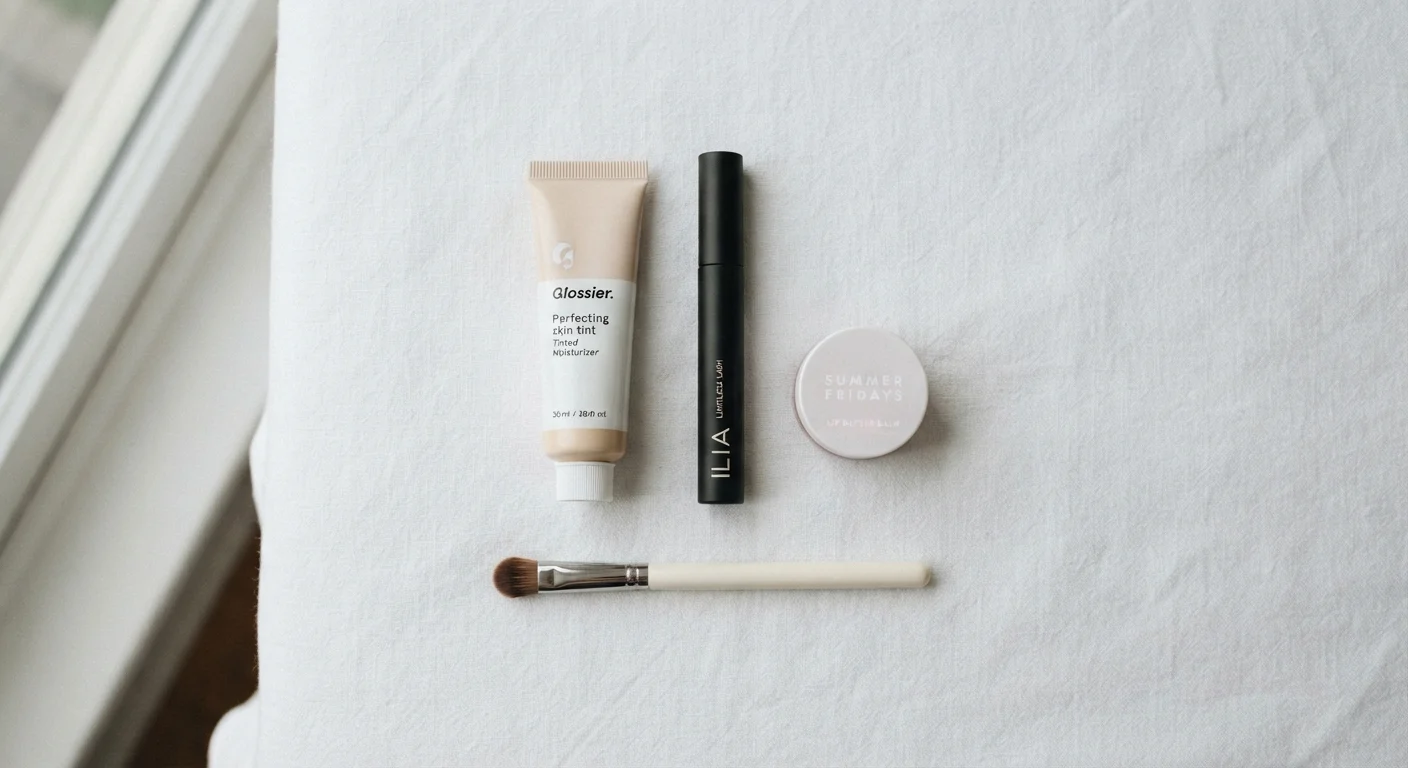
Key Takeaways
- A polished daily look requires only five to six versatile products applied in the right order.
- Prepping skin before makeup application significantly improves how products look and how long they last.
- Multitasking products - like a tinted moisturizer or cream blush - reduce time and clutter without sacrificing results.
- Focusing color on lips or eyes, not both, keeps a minimal routine looking intentional rather than unfinished.
- Setting your routine takes under ten minutes once you know the sequence.
What you will need
Why Less Can Work Harder
The beauty industry has historically encouraged more: more steps, more products, more complexity. But dermatologists and makeup artists alike frequently note that overloading the skin can actually work against you - heavy product layering can cause congestion, and a cluttered bag makes a quick routine impossible to sustain.
A minimal routine succeeds not by cutting corners but by selecting products that do more than one job. A tinted moisturizer replaces foundation and a standalone moisturizer step. A cream blush handles cheeks and eyelids simultaneously. When each product earns its place, the result is a look that reads as polished - not underdone.
For a broader look at what to actually keep in your daily kit, the Everyday Makeup Bag guide offers a useful framework for editing down further.
What you will need
The Six-Step Routine
The sequence below is designed to be completed in five to ten minutes on any weekday morning. Each step builds on the last - skin prep before coverage, coverage before color, color before the finishing touch. Follow the order consistently and it becomes intuitive within a few days.
Tinted Moisturizer or BB Cream
Evens skin tone and provides light coverage while hydrating - replaces both foundation and a separate moisturizer step.
Concealer
Targets specific areas - under-eye circles, blemishes - without covering the whole face.
Cream Blush
Adds a natural flush of color and can double as a subtle eyeshadow, making it a true two-in-one product.
Mascara
Opens and defines the eyes with minimal effort, providing the biggest visual payoff of any single product in the routine.
Tinted Lip Balm
Delivers a hint of color while conditioning lips - eliminates the need for separate lip liner and lipstick.
Fluffy Blending Brush
Blends tinted moisturizer and cream blush seamlessly without streaks or heavy texture.
Start with a clean, moisturized base
Makeup applies and wears better on well-prepped skin. Cleanse, then apply your usual moisturizer and SPF - or a product that combines both. Allow it to absorb for at least sixty seconds before moving on. Rushing this step is the most common reason makeup looks patchy or separates by midday.
Apply tinted moisturizer for light, even coverage
Dispense a small, pea-sized amount of tinted moisturizer onto the back of your hand. Using a fluffy brush or clean fingertips, blend it outward from the center of your face in short, buffing motions. Focus on the nose, forehead, and chin - areas where redness or unevenness tend to be most visible. You do not need full coverage; the goal is a smoothed, unified complexion.
Spot-conceal where needed
Using your ring finger or a small brush, press a small dot of concealer only onto areas that need it - typically under the eyes and over any active blemishes. Pat gently rather than rubbing, which can remove the tinted moisturizer underneath. Blend the edges so there is no visible line between the concealer and the rest of the skin.
Add a wash of cream blush to cheeks - and optionally eyelids
Smile gently and dab a small amount of cream blush onto the apples of the cheeks, then blend upward toward the temples with your fingertip. The texture should melt in naturally. For a cohesive, monochromatic look, press the same product lightly onto the eyelids with your fingertip. This technique - using one product for two areas - is a core principle of minimal makeup that still looks considered. For more on placement principles, see face-sculpting placement techniques.
Apply mascara to define the eyes
Wiggle the mascara wand at the base of your upper lashes, then pull upward in a single stroke. One to two coats on the upper lashes alone is typically sufficient for a clean daytime look. Avoid loading too much product on the wand - excess formula is the most common cause of smudging. For a deeper dive into why mascara transfers, see why mascara smudges before noon.
Finish with a tinted lip balm
Swipe a tinted lip balm directly from the tube across both lips. This final step adds a soft pop of color while conditioning the lips - no liner or additional products needed. Choose a shade close to your natural lip color for everyday wear; the effect should look effortless rather than made-up.
The One-Focus Rule for Color
When in doubt, choose one area to emphasize - either the eyes or the lips - and keep the other subdued. This single principle prevents a minimal routine from looking mismatched or overly busy, and it's the underlying logic behind most natural daytime looks.
Maintaining the Routine Over Time
A minimal routine only stays minimal if you're intentional about what enters your collection. Before adding a new product, ask whether it replaces something you already own or adds a genuinely distinct function. Accumulating near-duplicates is the most common way a streamlined kit quietly expands back into clutter.
Periodically audit your products for expiration - mascara, in particular, should be replaced every three months to reduce the risk of eye irritation or infection. Cream and liquid products generally have a shorter shelf life than powders once opened.
If you're interested in applying the same edit-down thinking to your skincare shelf, the trade-offs of a minimalist skincare routine offers a balanced perspective on what a pared-down approach can and cannot deliver. And for value-conscious shopping strategies that apply across your whole beauty spend, the Smart Budget Buying hub is worth bookmarking.
Don't Skip SPF in Your Base Step
Sun protection is the single most evidence-backed step in any daily skin routine, according to dermatology consensus. If your tinted moisturizer does not include broad-spectrum SPF, apply a separate sunscreen underneath it. Skipping this step daily compounds cumulative UV exposure over time. This is general guidance - consult a dermatologist for personalized skincare recommendations.