

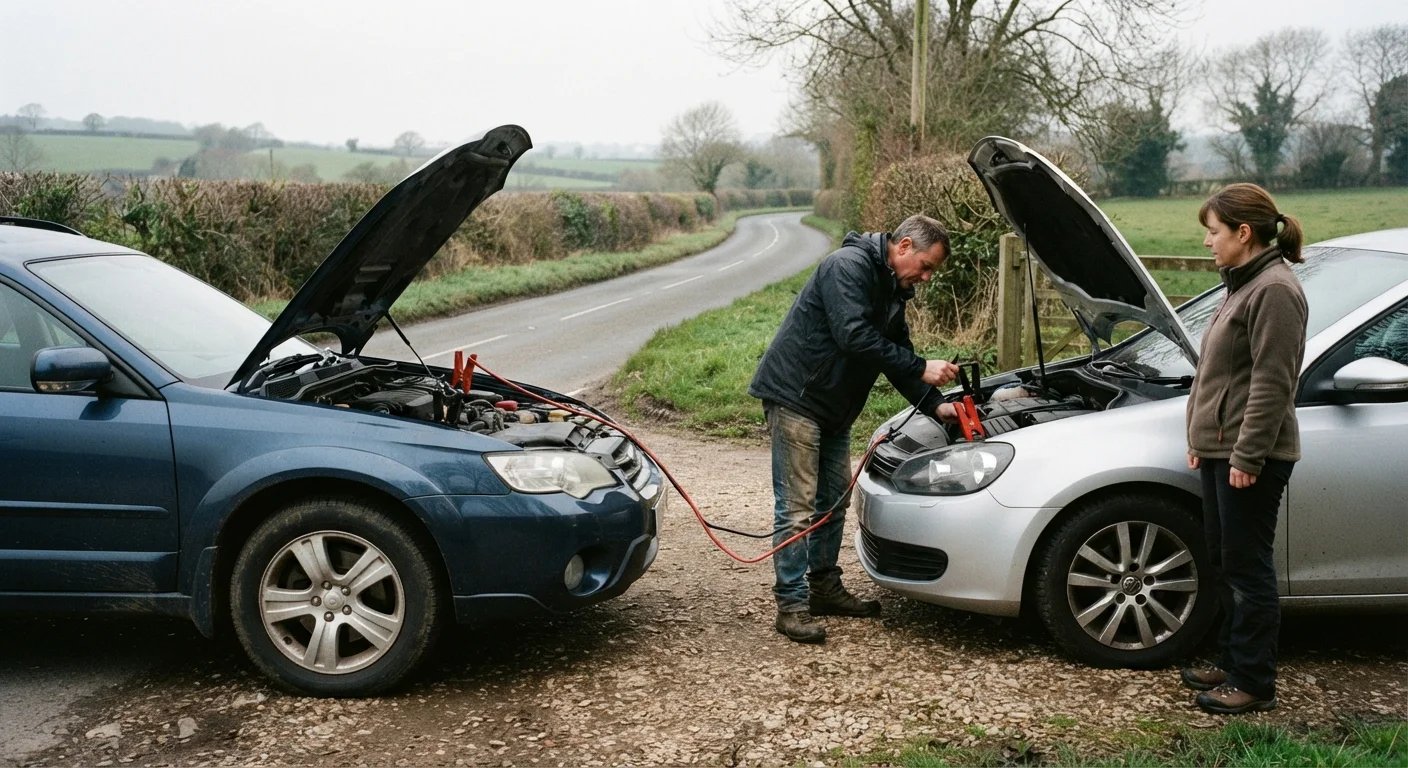
Key Takeaways
- Connecting cables in the wrong order can permanently damage modern vehicle electronics.
- Always attach the negative clamp to a metal ground point, never directly to the dead battery.
- Let the donor vehicle run briefly before attempting to start the stalled car.
- Driving 20-30 minutes after a jump gives the alternator time to recharge the battery.
- A battery that dies repeatedly should be tested - jump-starting is a temporary fix, not a solution.
What you will need
Why Modern Cars Require Extra Care
Vehicles built in roughly the last two decades contain dozens of electronic control units (ECUs) managing everything from the engine and transmission to safety systems and infotainment. These modules are sensitive to voltage spikes - exactly the kind that a carelessly executed jump-start can produce. Unlike older vehicles with simpler electrical systems, a miswired jump on a modern car can trip fault codes, blow fuses, or in worst cases damage modules that cost hundreds of dollars to replace.
Understanding the correct procedure isn't complicated, but the sequence matters. Before you reach for the cables, familiarize yourself with what you'll need. See our trunk safety checklist for a fuller picture of roadside essentials.
What you will need
What You'll Need Before You Start
Gather your equipment and inspect it before connecting anything. Frayed cables or corroded clamps can arc unexpectedly and are a safety hazard. Also check your owner's manual - some manufacturers specify a designated jump-start terminal rather than direct battery access, particularly on vehicles with the battery in the trunk or under a seat.
Jumper Cables (4-gauge or heavier)
Transfers current from the donor battery to the dead battery to start the engine.
Portable Jump Starter
A self-contained battery pack that jump-starts your vehicle without needing a donor car.
Vehicle Owner's Manual
Identifies any manufacturer-specific jump-start terminal locations and precautions.
Safety Gloves and Glasses
Protects against battery acid splashes and accidental sparks during cable connection.
If you're weighing your equipment options, our article comparing portable jump starters and jumper cables covers the practical trade-offs.
The Step-by-Step Jump-Start Process
Follow the steps below in order. Skipping or reversing steps is where most damage occurs. If at any point you see sparks beyond a brief initial flicker, or smell burning, stop immediately.
Position the Vehicles and Turn Both Off
Park the donor vehicle close enough for the cables to reach both batteries comfortably - typically hood-to-hood. Turn off both vehicles completely. Engage the parking brake on both cars. Do not allow the vehicles to touch each other, as this can create an unintended ground circuit.
Connect the Red (Positive) Cable to the Dead Battery
Attach one red clamp to the positive terminal (+) of the dead battery. The terminal is usually marked with a plus sign and may have a red cover. Ensure the clamp makes solid contact with the terminal post, not just the cover.
Connect the Red Cable to the Donor Battery
Attach the other red clamp to the positive terminal (+) of the donor battery. Again, ensure a firm connection on the terminal post itself.
Connect the Black (Negative) Cable to the Donor Battery
Attach one black clamp to the negative terminal (−) of the donor battery. This is the working, charged battery.
Ground the Final Black Clamp on Unpainted Metal
This is the most critical step for protecting modern electronics. Do not connect the final black clamp to the dead battery's negative terminal. Instead, attach it to a solid, unpainted metal surface on the engine block or chassis of the dead vehicle - a bolt head or metal bracket works well. This prevents a spark near the battery, which can release hydrogen gas.
Start the Donor Vehicle and Let It Run
Start the donor vehicle and let it idle for 2-3 minutes. This allows some charge to transfer to the dead battery before you attempt a start, reducing the strain on both vehicles' electrical systems.
Attempt to Start the Dead Vehicle
Try to start the stalled vehicle. If it starts, move to disconnecting the cables. If it does not start after two or three attempts lasting no more than 5-10 seconds each, wait another few minutes and try again. Do not crank the starter continuously - this can overheat the starter motor.
Disconnect the Cables in Reverse Order
Remove the cables in the exact reverse sequence: first the black clamp from the grounded metal point, then the black clamp from the donor battery, then the red clamp from the donor battery, and finally the red clamp from the previously dead battery. Keep clamps from touching each other or any metal surface during removal.
Hybrid and Electric Vehicles Are Different
Standard jump-starting procedures do not apply to hybrid or electric vehicles. These vehicles use high-voltage drive battery systems alongside a conventional 12V auxiliary battery, and incorrect jump-starting can cause serious injury or vehicle damage. Always consult the owner's manual and, when in doubt, contact a roadside assistance service. Never attempt to jump-start from or to a hybrid or EV's high-voltage system.
After the Jump: What to Do Next
A successful start doesn't mean the problem is solved. Drive continuously - ideally on a highway or arterial road - for at least 20-30 minutes to let the alternator recharge the battery. Idling in a driveway is far less effective.
If your battery dies again within a day or two, it needs professional testing. A battery can fail its load test even when it holds enough charge to start the car in good conditions. Most auto parts stores and repair shops offer free battery testing. Repeated failures may also indicate a problem with the alternator or a parasitic drain - issues worth addressing before they leave you stranded again.
Get Your Battery Tested Annually
Car batteries typically last three to five years, though climate and usage patterns affect lifespan significantly. Having your battery load-tested once a year - especially before winter - can catch a weakening battery before it leaves you stranded. This is a quick, usually free service at most repair shops and auto parts retailers.
Building regular battery checks into your routine is part of smart ownership. Our maintenance habits guide for new drivers explains how to stay ahead of common failures like this one. And if seasonal temperature swings affect your area, it's worth reviewing seasonal vehicle preparation - cold weather is one of the leading causes of battery failure.