
Applying Blush, Bronzer, and Highlighter: Placement Principles That Make a Difference

Key Takeaways
- Blush belongs on the apples or cheekbones depending on the finish you want - not swept across the entire face.
- Bronzer mimics a natural shadow and should follow the sun's natural pattern across the face.
- Highlighter amplifies light on the high points of the face; less product delivers more refined results.
- Applying products in the right order - blush first, bronzer second, highlighter last - prevents muddiness.
- Brush shape and blending technique matter as much as product placement for a natural finish.
What you will need
Why Placement Is the Whole Point
Most people who struggle with blush, bronzer, or highlighter aren't using the wrong products - they're placing them incorrectly. All three are sculpting and enhancing tools that work by manipulating how light interacts with your face. When placed intentionally, they create dimension, warmth, and radiance. When applied without a framework, they flatten features or clash with each other.
Before picking up a brush, it helps to understand your face as a three-dimensional structure. The goal is to deepen shadows where you want to recede (bronzer), add flush where sun naturally hits (blush), and reflect light off the highest structural points (highlighter). If you're new to the broader world of makeup foundations, see our beginner's guide to core makeup products before diving in here.
Also worth noting: the state of your skin before makeup application affects how these products sit and blend. Prepping skin in the right sequence helps blush and bronzer diffuse smoothly rather than catching on dry patches or sliding on oilier areas.
What you will need
Tools and Materials You'll Need
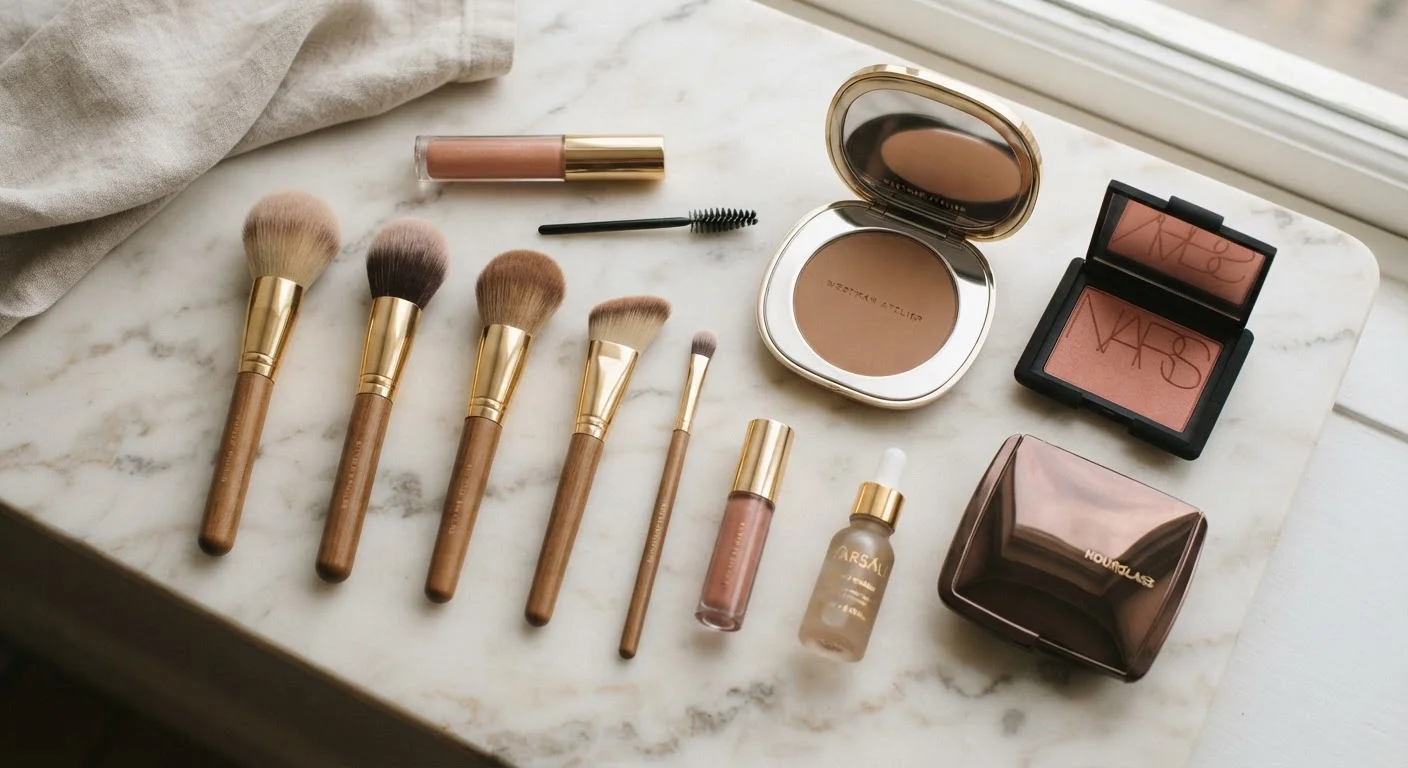
Using the right applicators makes blending significantly easier and keeps each product in its intended zone. Below are the tools that give you the most control.
Fluffy Blush Brush
Applies and blends powder or cream blush to the cheeks with soft, diffused edges.
Angled Contour or Bronzer Brush
Follows the natural hollows and planes of the face to deposit bronzer with precision.
Fan Brush
Deposits a light, diffused layer of highlighter on high points without over-applying.
Tapered Blending Brush
Smooths edges between products so blush, bronzer, and highlighter blend seamlessly.
Clean Fingertip
Presses and warms cream or liquid highlighter into skin for a natural, skin-like glow.
Step-by-Step Application
Follow these steps in order. Layering in the correct sequence - blush first, then bronzer, then highlighter - prevents the products from muddying each other and ensures the warmest, most buildable result.
Apply Blush to the Cheeks
Smile gently to locate the apples of your cheeks, then sweep blush upward toward the temples in a soft arc. For a lifted effect, start higher on the cheekbone rather than on the fleshy apple. Use a fluffy brush and light, circular strokes. Build color gradually - two or three light layers give more control than one heavy application.
Apply Bronzer Along the Sun-Exposed Zones
Using an angled brush, apply bronzer in a loose '3' shape on each side of your face: starting at the temples, sweeping across the cheekbones, and finishing at the jawline. Also dust lightly across the forehead hairline and the tip of the nose. These are the areas that would naturally catch sun first.
Apply Highlighter to the High Points
With a fan brush or tapered brush, apply highlighter to the top of the cheekbones (just below the outer corner of each eye), the bridge of the nose, the brow bone, and optionally the cupid's bow. Press gently rather than sweeping to avoid disturbing the blush and bronzer beneath.
Blend the Edges Between All Three Products
Take a clean tapered or fluffy brush and lightly buff along any visible borders between your blush, bronzer, and highlighter. The products should transition into each other - and into bare skin - without obvious lines. This step takes under a minute but has an outsized impact on the final result.
Adjust for Your Lighting Environment
What looks balanced in bathroom lighting may appear heavy in natural daylight, and vice versa. Whenever possible, check your finished look near a window before heading out. Highlighter in particular can shift dramatically between warm indoor light and natural light, so apply conservatively if you're unsure.
Common Mistakes and How to Avoid Them
Even with the right technique, a few recurring errors can undercut the final look.
- Applying too much product at once. All three products are easier to build than to remove. Tap off excess from your brush before every application.
- Blending in only one direction. Circular or back-and-forth motions blend more naturally than single downward strokes, which can leave harsh demarcation lines.
- Placing bronzer too low on the face. Bringing bronzer below the jawline onto the neck is fine for blending purposes, but the primary application zone should stay where the sun realistically hits - temples, forehead edges, and cheeks.
- Skipping the blending step after highlighter. Even a pressed or loose powder highlighter benefits from a light pass with a clean finger or brush to diffuse any sharp edges.
If you're aiming to keep your routine streamlined, our guide to building a minimal makeup routine shows how to integrate just one or two of these products effectively without overcomplicating your day.
Shade Matching Matters for Bronzer
A bronzer that is too dark, too orange, or too cool relative to your skin tone will look artificial rather than sun-warmed. Test bronzer shades on the side of your face in natural light before committing to a new product. When in doubt, shade lighter - warmth can be layered up more easily than it can be removed.